A bad remodel usually gets worse when the next step is rushed
Before more paint, tile, trim, flooring, cabinets, or drywall covers the evidence, slow the project down and document what is visible.
The goal is not to blame someone on day one. The goal is to understand what is finished, what is unfinished, what may be unsafe, what may be moisture-related, and what must be opened before a real repair scope can be written.
First 5 steps when a remodel goes wrong
-
Stop covering the problem
Do not add paint, trim, tile, flooring, cabinets, or drywall over work that may need to be inspected.
-
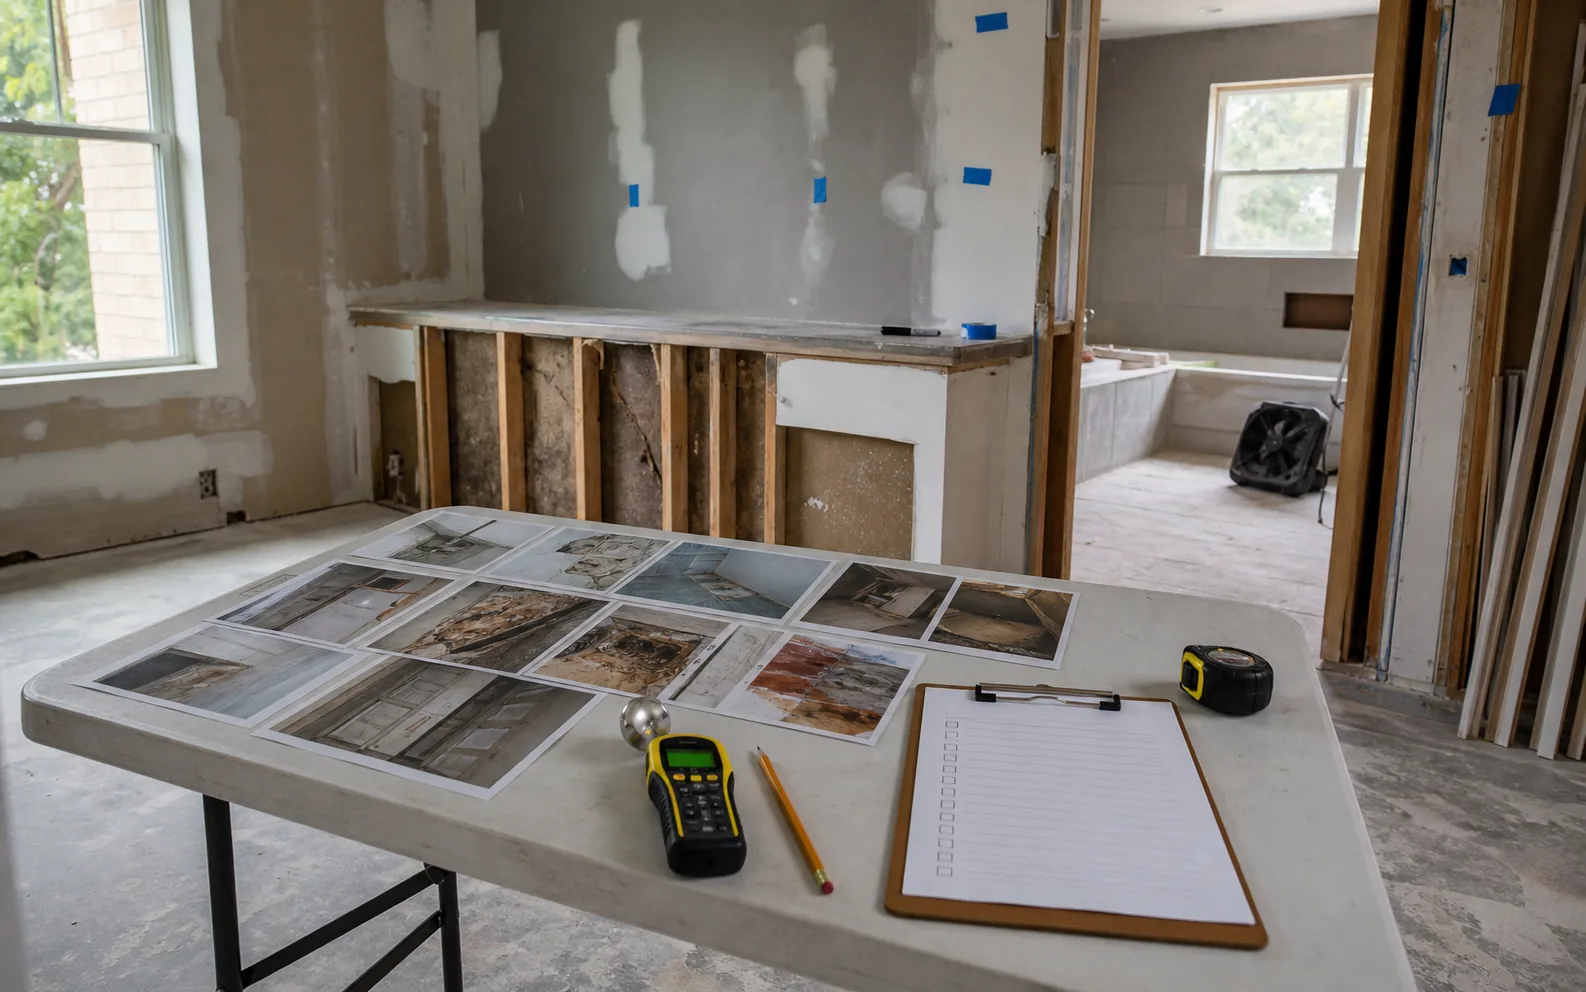
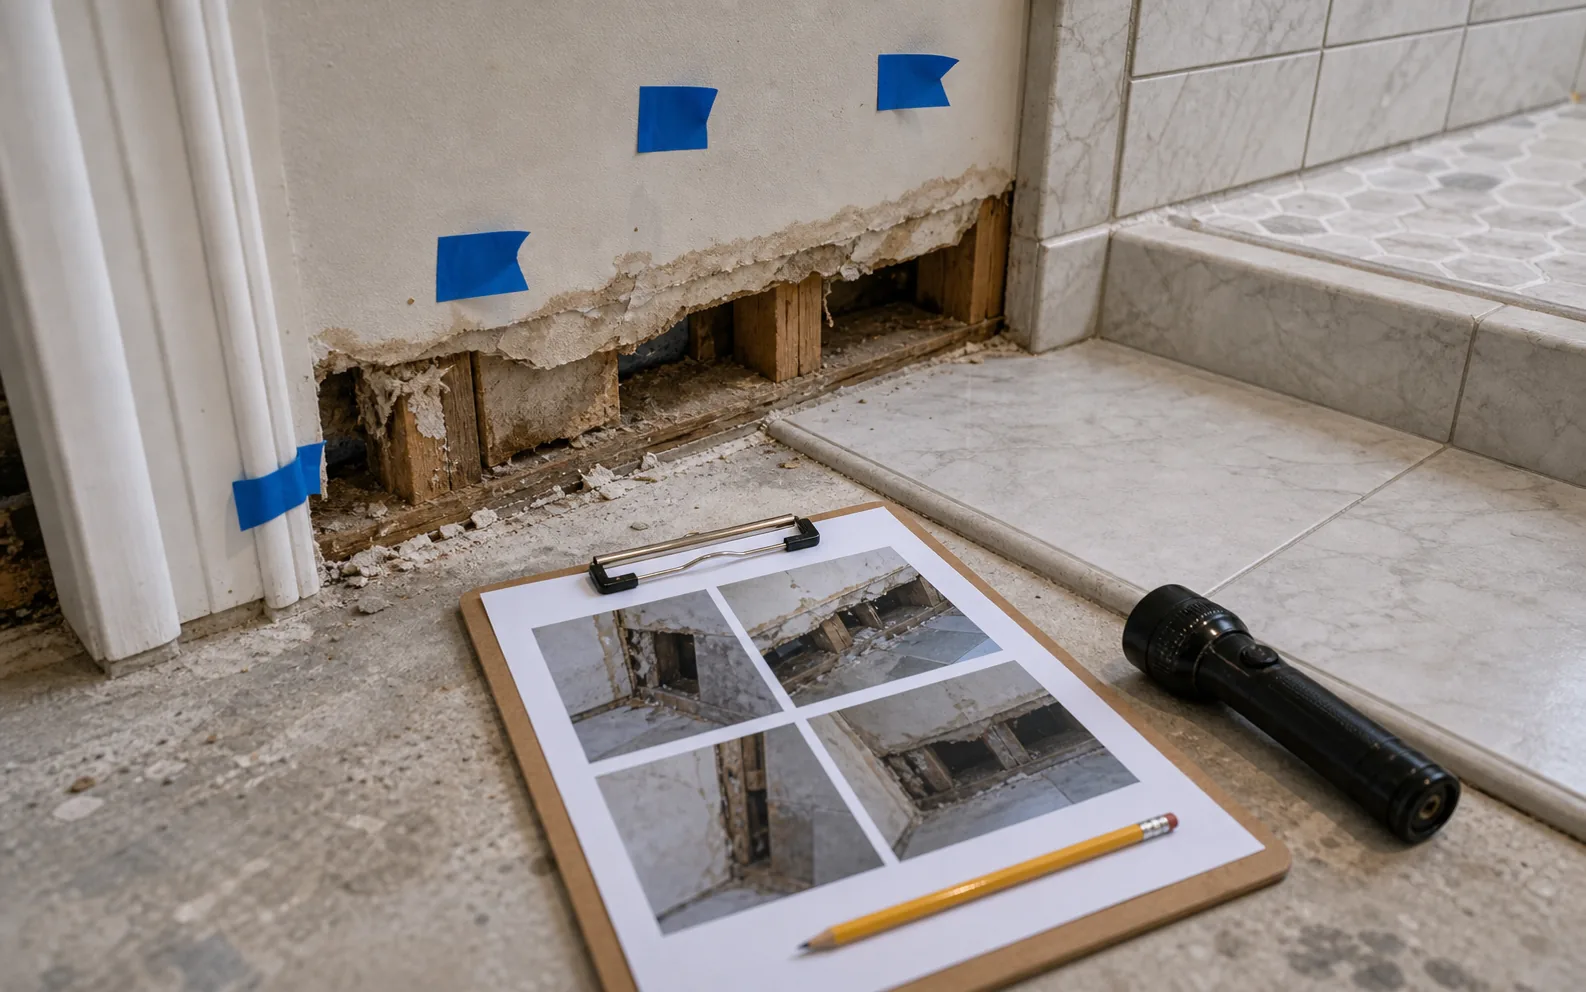
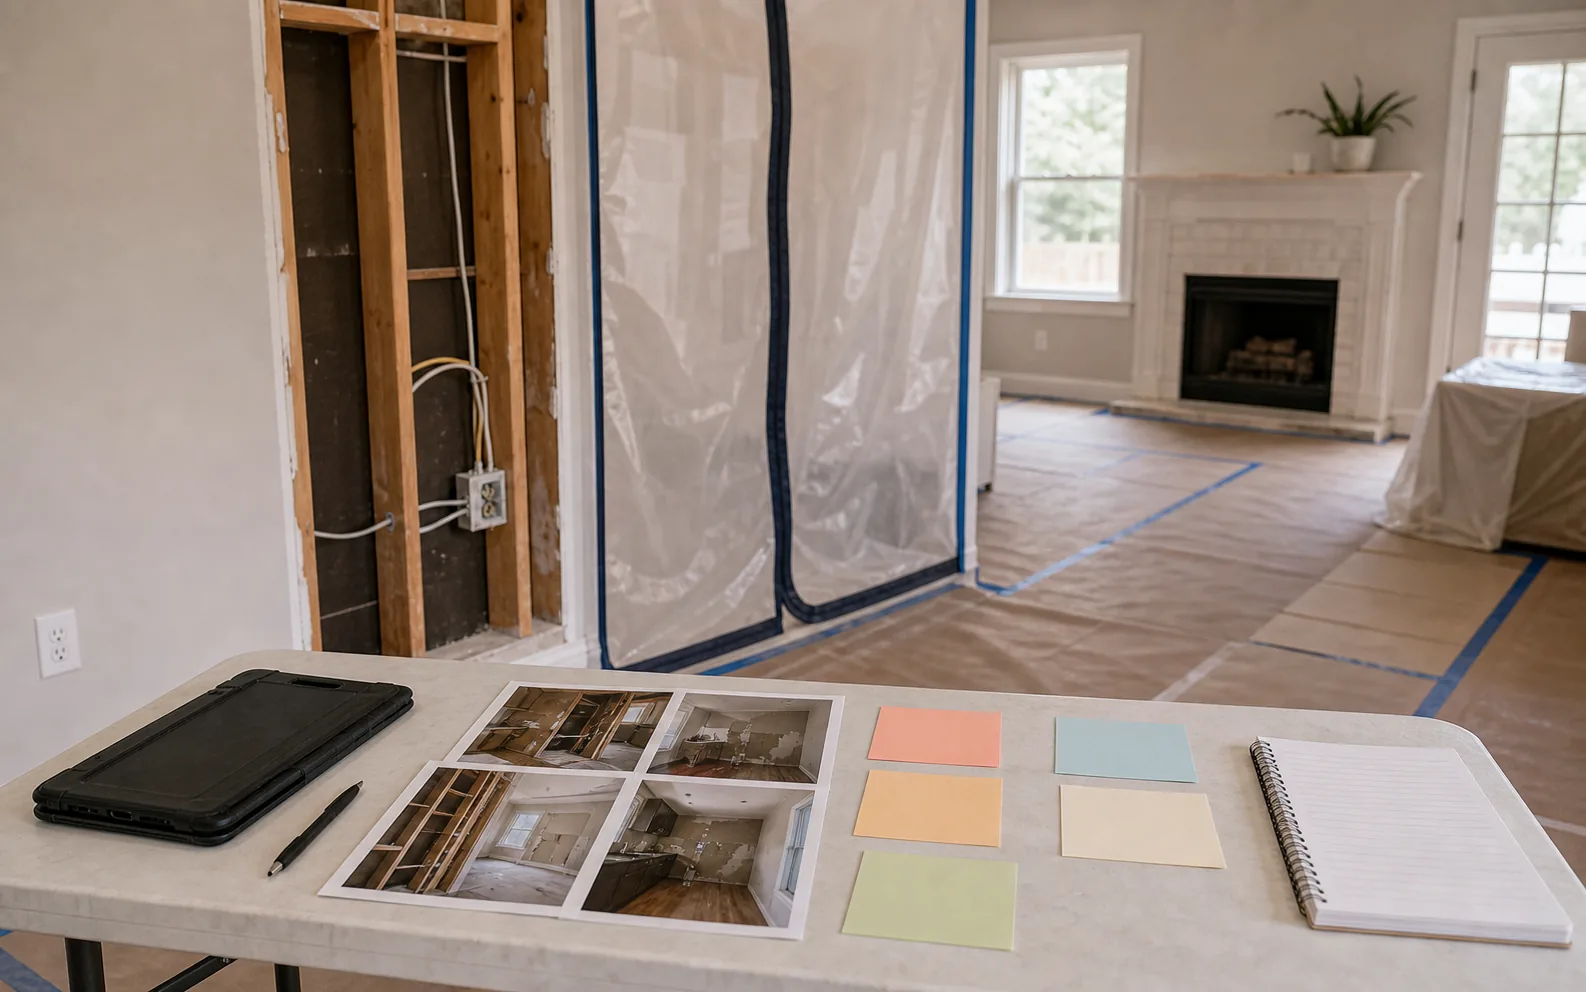
Photograph everything
Take wide photos, close-up photos, videos, and photos of labels, materials, drains, wires, plumbing, waterproofing, framing, and unfinished areas.
-
Protect the house
If there is active water, electrical danger, exposed openings, or unsafe access, protect the area first.
-
Separate symptoms from causes
A stain, crack, smell, or soft area is usually a symptom. The cause may be moisture, movement, bad sequencing, poor prep, old damage, or missing trade work.
-
Rebuild the scope
Before hiring the next crew, create a written repair scope that explains what is known, what is assumed, what is excluded, and how discoveries will be handled.
Separate cause from visible damage
A cracked tile, swollen baseboard, soft subfloor, sagging door, water stain, or bad paint line is a symptom. The cause might be movement, missing waterproofing, poor drainage, plumbing leaks, framing problems, bad sequencing, or old damage that was never fixed.
A repair scope should name the suspected cause and the visible damage separately. If the cause is not corrected, the finish repair may fail again.
What to send for a remodel rescue review
A rescue review is easier when the information is organized before the next contractor sees the job.
- The property address
- Photos of the full room
- Close-up photos of the problem areas
- The original scope or estimate
- Any change orders
- Photos of materials or product labels
- Notes about what has been paid
- Notes about what work has stopped
- What you are most worried about
Why written scope matters
A rescue project should not depend on memory or verbal promises. The next scope should explain the work, materials, assumptions, exclusions, schedule expectations, payment milestones, and change-order process.
That lines up with consumer guidance. Written estimates and contracts help homeowners understand what will be done, what it may cost, and what promises are actually part of the agreement.
Related next steps
Checklist
- Stop finish work
- Take photos and videos
- Save receipts and scopes
- Identify urgent safety or water issues
- Separate cause from cosmetic damage
- Ask what must be opened
- Get a written recovery scope
- Approve change orders in writing
Related project
Storm Repair and Finish Restoration
See how documentation, hidden conditions, and finish repair planning affect rescue-style work.